
You've bought a new SSD or hard drive for your computer, or maybe even your notebook, and you're wondering: is there any easy way to migrate my entire Windows 10 OS installation to the new disk? The answer is yes!
There are a few ways to clone and migrate to a new disk without having to reinstall anything. In this tutorial we will perform this process using the free version of EaseUS .
1. Make a Backup
This step is important whenever you make critical changes to your computer. Back up all your documents, photos and important files to a safe place, whether it's cloud or an external drive. No method is 100% guaranteed, so preventing unexpected errors is important.
two. Clean up your computer
The migration process can take a good few minutes, so to facilitate and speed up the process it is important to clean your computer of any unused files or programs, the less storage for the migration, the faster it will be.
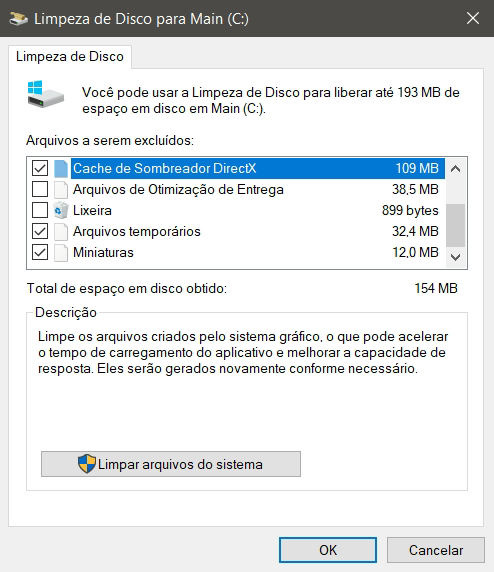
2.1. Disc Cleanning
The first step is to do a disk cleanup, you can access this program by typing " Disc Cleanning " in the start menu. Select the files to be deleted and press OK. This step may take a few minutes depending on the number of files to be deleted.
2.2. Uninstall Unused Programs
Access the control panel by typing " Control panel " in your home menu and look for the option " Uninstall a Program ".
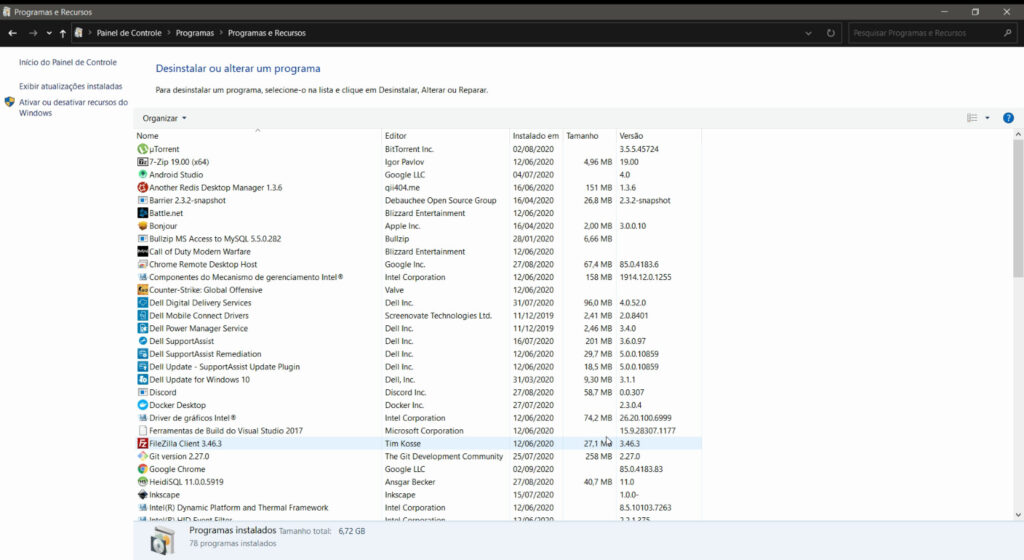
On this screen you will find all the programs installed on your computer, check the list and uninstall any programs you no longer use.
2.3. Manual cleaning
Browse through your folders, especially folders from Documents , Images and Downloads and delete all the files you will no longer need. Many users forget to clean the folder Downloads , which can lead to several files being downloaded without need that overload your computer's storage.
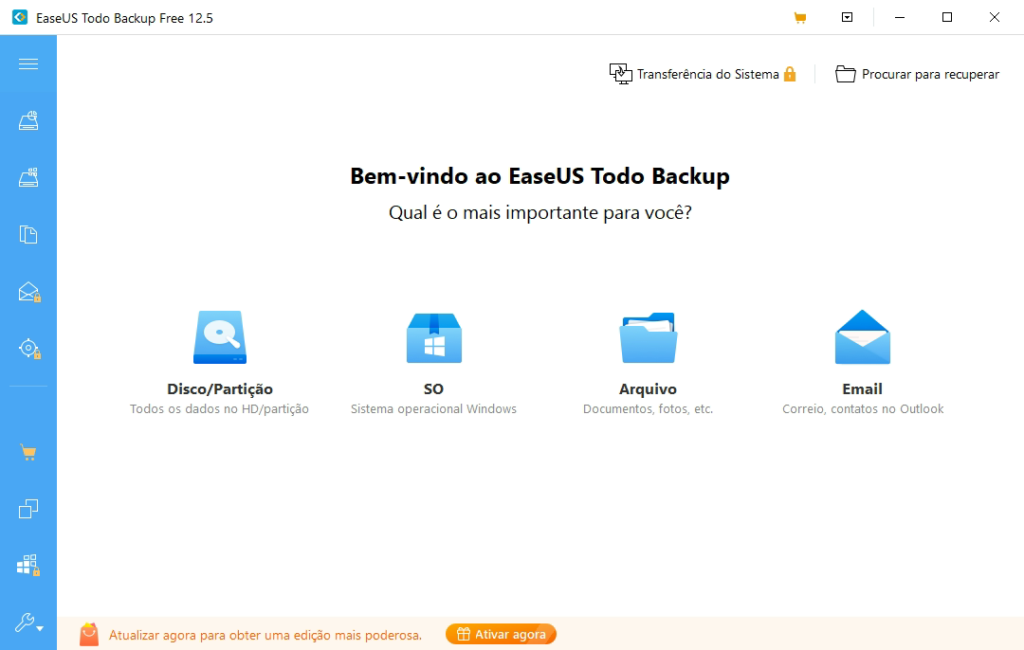
3. Install the Migration Program
Windows 10 doesn't offer a native, simple way to clone and swap your operating system to a new hard drive. For that we will need to download and install the program. EaseUS .
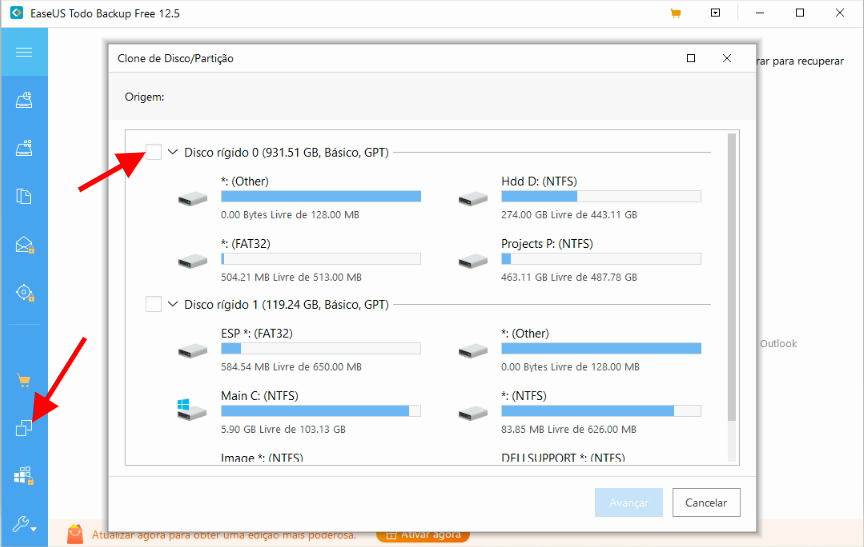
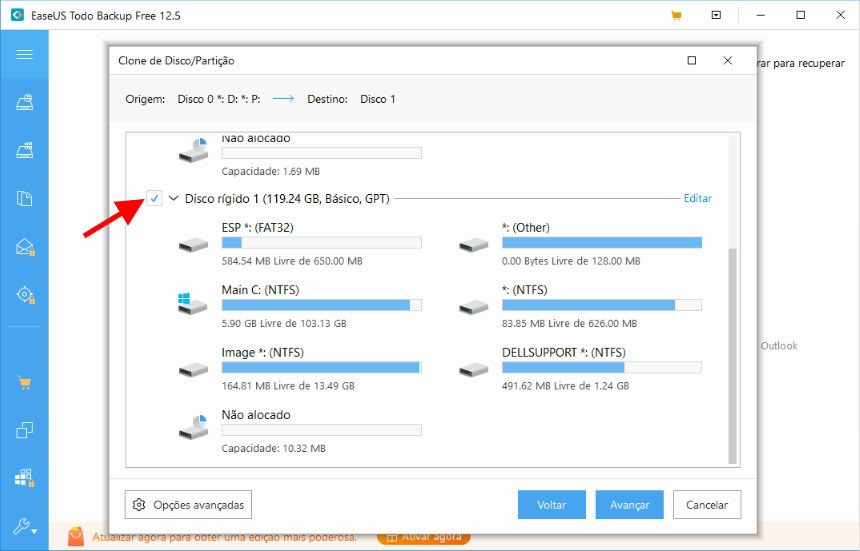
4. Select Source Disk
The first step is to select the source disk, that is, the disk where Windows 10 is installed. Remembering that the size occupied by the source disk must be less than or equal to the available size of the new disk. Click on the side menu to enter the cloning tool and select the entire disk that contains your operating system installation, click next.
5. Select Destination Disk
Now we need to select the destination disk, the disk to which we want to move the Windows 10 installation.
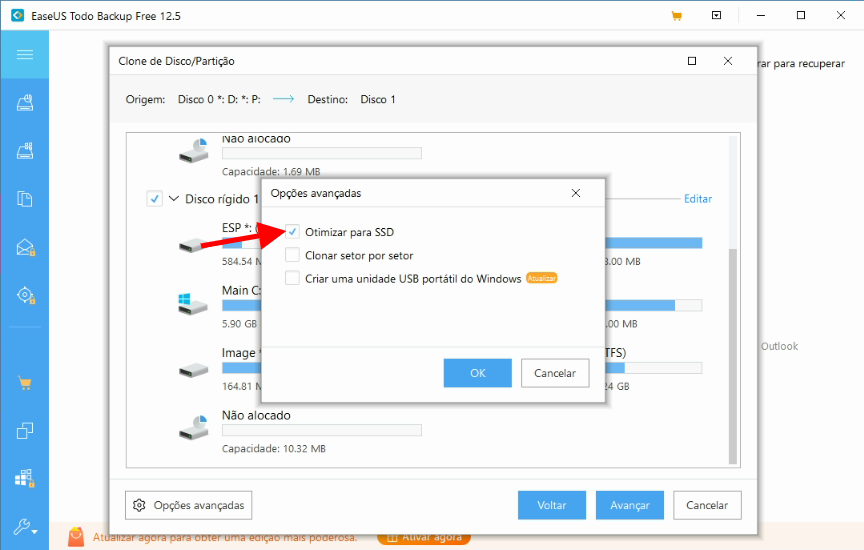
5.1. Migrating to SSD
If you are migrating the installation to an SSD type disk, it is recommended that you click "Advanced Options" and select the "Optimize for SSD" option.
Click next and start the hard disk cloning process, remembering that this will delete all files from the destination disk. This step may take a few minutes, it will all depend on your computer's speed and the amount of files to be migrated to the new disk.
6. Configure your Boot
This step can be the most annoying, if you are not going to use the old HD anymore, you can just disconnect and try to restart the computer, it should already be able to identify the new disk. Now if you intend to keep both disks installed in order to use the old one later as more storage space, you will need to go into your BIOS and set the boot order, leaving the new disk first in boot loader order.